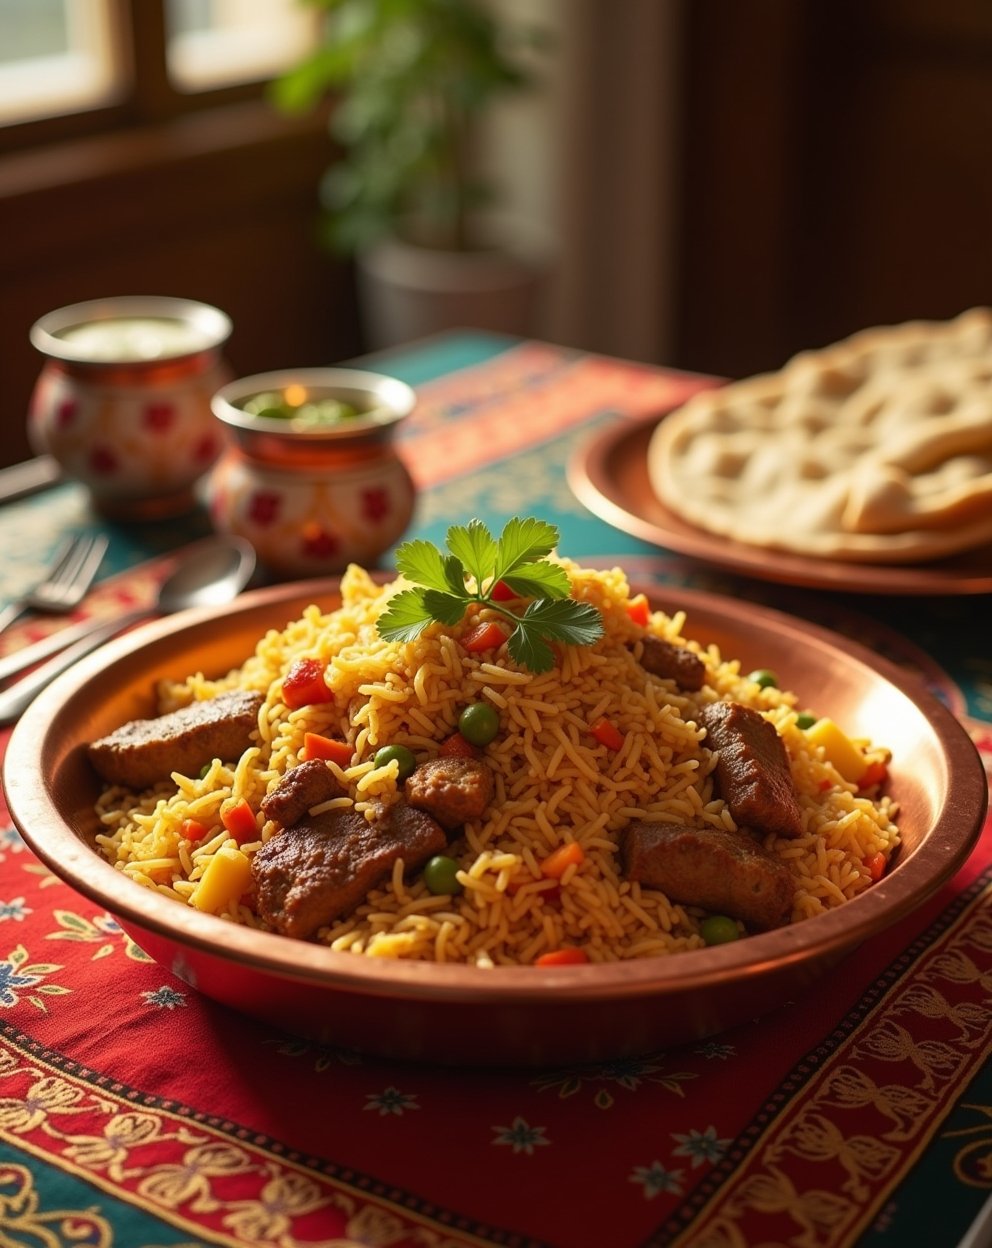
Want to impress your family and friends with a delicious, layered biryani? Our chicken biryani recipe is here to help. It’s a classic Indian dish with aromatic spices, basmati rice, and juicy chicken.
We’ll guide you on how to make authentic biryani at home. Follow our easy steps, and you’ll create a flavorful, tender biryani. It will soon become a favorite in your kitchen.
Key Takeaways
- Discover the secrets to creating a layered biryani.
- Understand the importance of using aromatic spices and basmati rice.
- Get tips on marinating chicken for maximum flavor.
- Follow our step-by-step guide for a stress-free cooking experience.
Table of Contents
The Rich Heritage
Its history is as complex as the dish itself. It has roots in Persian, Turkish, and Indian flavors from the Mughal era. This iconic dish has a long and rich history.

Origins and Cultural Significance
The origins of biryani are deeply rooted in the Indian subcontinent. It has been passed down through generations, with each region adding its twist. Biryani’s cultural significance goes beyond food; it symbolizes hospitality, community, and celebration.
In many Indian homes, biryani is more than a meal. It’s an event that brings people together. The preparation of biryani is a labor of love, with intricate steps and traditional techniques.
What Makes an Authentic
So, what makes a biryani authentic? It’s the mix of high-quality ingredients, traditional cooking, and a deep understanding of flavors and textures. Authentic biryani has distinct layers of basmati rice, marinated meat or vegetables, and aromatic spices.
- The use of basmati rice, known for its unique fragrance and fluffy texture.
- A blend of spices that is carefully selected and proportioned.
- A cooking technique that involves layering and dum cooking to infuse flavors.
By understanding and respecting these elements, you can create an authentic biryani that honors its rich heritage.
Essential Ingredients for its Perfection
A great chicken biryani starts with key ingredients. You need the right rice, meat, and spices. These basics are the foundation of this beloved dish.
The Rice Selection
Basmati rice is crucial for authentic biryani. It has a nutty flavor and fluffy texture. Choose aged basmati rice for better results. Always choose high-quality basmati rice for the best taste.

Meat Preparation
Marinating chicken in yogurt and spices tenderizes it and adds flavor. Use bone-in chicken pieces for better moisture. Marinate the chicken for at least a few hours or overnight for the best taste.
Spices and Aromatics
Its flavor comes from spices and aromatics. You’ll need cardamom, cinnamon, cloves, and bay leaves. Saffron adds yellow color and flavor. Onions, ginger, garlic, and cilantro are also key. Here’s a quick overview of the key spices and their roles:
| Spice | Role |
|---|---|
| Cardamom | Adds sweet, aromatic flavor |
| Cinnamon | Provides warmth and depth |
| Cloves | Contributes to the aromatic warmth |
| Bay leaves | Adds a subtle bitterness and aroma |
Finding Ingredients in Lithuania
In Lithuania, finding the right ingredients might take some effort. Basmati rice and most spices are in larger supermarkets or Indian stores. For saffron, visit stores that sell international or gourmet items. Online shopping is also an option, with many retailers shipping internationally.
Equipment You’ll Need
To make authentic chicken biryani, you’ll need the right equipment. The type of cooking vessels and tools you use can significantly impact the final result.
Traditional vs. Modern Cooking Vessels
Traditionally, biryani is cooked in a handi or degh, which are clay or metal pots designed for slow cooking. These vessels allow for even heat distribution and are ideal for the dum cooking process. However, not everyone has access to these traditional pots. Modern alternatives like heavy-bottomed pans or Dutch ovens can also work well. The key is to use a vessel that retains heat and has a tight-fitting lid.
Tools for Perfect Layering
Layering is a critical step in making it perfectly. To achieve perfect layers, you’ll need a few essential tools. A large mixing bowl is necessary for marinating the chicken. A colander is useful for draining the parboiled rice. A sharp knife is required for chopping the onions, ginger, and other ingredients. Additionally, a slotted spoon can help you gently layer the ingredients without breaking them.
| Tool | Purpose |
|---|---|
| Large Mixing Bowl | Marinating chicken |
| Colander | Draining parboiled rice |
| Sharp Knife | Chopping ingredients |
| Slotted Spoon | Layering ingredients |

Preparing the Base
Creating the base is key to making this dish. It involves marinating the chicken, making the masala base, and parboiling the rice. Each step is important for the flavors and textures of a great Biryani.
Marinating the Chicken
Marinating the chicken is the first step. A good marinade makes the chicken tender and flavorful.
The Perfect Marinade Ratio
A good marinade has yogurt, spices, and herbs. Use 1 part yogurt to 1 part spices by weight. Adjust the herbs to taste. For example, 1 cup of yogurt with 1 cup of mixed spices works well.
Marination Time and Temperature
Marinate the chicken for at least 2 hours, or better yet, overnight in the fridge. This lets the flavors soak into the meat.
Creating the Perfect Masala Base
The masala base is the heart of the Biryani. It’s made by sautéing onions until golden, then adding ginger, garlic, and spices. Cook until the mixture smells great.

Parboiling Rice to Perfection
Parboiling the rice is crucial. Cook it until it’s 70% done to keep its texture.
The 70% Rule for Rice
Cook the rice in boiling, salted water until it’s 70% done. Check by tasting; it should still be a bit firm in the center.
Infusing Flavors into Rice
To add flavor to the rice, add whole spices like cardamom, cinnamon, and bay leaves to the water. This boosts the Biryani’s aroma and taste.
| Step | Description | Tips |
|---|---|---|
| Marinating Chicken | Mix chicken with yogurt, spices, and herbs. | Use 1:1 ratio for yogurt to spices. |
| Creating Masala Base | Sauté onions, then add ginger, garlic, and spices. | Cook until fragrant. |
| Parboiling Rice | Cook rice in boiling, salted water until 70% done. | Add whole spices for flavor infusion. |
The Art of Layering
Layering is key to a perfect biryani. It requires patience and skill. It’s not just about stacking ingredients. It’s about blending flavors and textures for great consequences.
Traditional Layering Technique
The traditional layering method has been passed down for generations. It starts with a layer of rice, then chicken or masala, and so on.
First Layer Fundamentals
The first layer is key. It’s usually partially cooked rice. The rice should be firm to the bite. This helps it cook perfectly during dum cooking.
Building Subsequent Layers
After the rice, add a layer of marinated chicken or masala. This layer is where flavors are most intense. Make sure to spread it evenly. Then, alternate between rice and the chicken or masala, ending with rice on top.
The Importance of Dum Cooking
Dum cooking is crucial. It involves sealing the pot and cooking on low heat. This method melds flavors and cooks the rice just right.

Sealing the Pot Properly
Sealing the pot is important. It keeps the steam in during dum cooking. Traditionally, a flour and water mixture is used to seal the lid. This keeps the biryani’s flavors and aromas in.
| Layer | Ingredient | Purpose |
|---|---|---|
| 1 | Partially cooked rice | Foundation layer |
| 2 | Marinated chicken or masala | Flavor layer |
| 3 | Rice | Absorbs flavors |
| 4 | Chicken or masala | Enhances flavor |
Mastering layering and dum cooking makes a delicious and beautiful biryani. Be patient and focus on the details. This ensures each layer is perfectly cooked and full of flavor.
Step-by-Step Cooking Process
Making Chicken Biryani is a detailed process. Each step is important for a tasty and fragrant dish. Knowing each part helps you make the perfect Biryani.
Initial Cooking Phase
The first step is crucial. Heat your pot over medium heat. Add oil or ghee, then your marinated chicken. Cook until the chicken is almost done, then set it aside.
Next, make your masala base. Sauté onions, ginger, and garlic until they smell great. Add spices and cook until the mix is well combined and smells amazing. This base is the heart of your Biryani, giving it its flavor.
The Critical Middle Stage
This stage is all about layering your Biryani. Start with rice at the bottom, then chicken and masala. Keep layering until you use all your ingredients, ending with rice on top.
Adjust the heat here. Use medium heat to warm the pot, then lower it to low. This slow cooking lets flavors mix and rice cook right.
Final Cooking and Resting
The last stage is where your Biryani comes together. Cook it on low heat for 15-20 minutes. You’ll see a crust forming, which is great.
After cooking, turn off the heat and let it rest, sealed, for 5-10 minutes. This step helps the flavors settle and makes it easier to serve.
| Cooking Stage | Action | Outcome |
|---|---|---|
| Initial Cooking | Cook chicken and prepare masala base | Partially cooked chicken and aromatic masala |
| Critical Middle Stage | Layer Biryani ingredients and cook on dum | Flavors melded together, rice cooked |
| Final Cooking and Resting | Cook on low heat, then rest | Completed Biryani, flavors settled |
Troubleshooting Common Problems
Biryani cooking can be tricky, but knowing how to fix problems can save the day. Even skilled cooks face issues like undercooked or overcooked rice, dry or soggy Biryani, and flavors that don’t balance. Let’s look at common problems and how to solve them to make your Biryani perfect.
Undercooked or Overcooked Rice
One big issue with Biryani is rice that’s not cooked right. Use Basmati rice, which cooks well and stays firm. Parboiling the rice before layering helps it cook perfectly. If the rice is undercooked, add a bit more water and cook it on low heat. If it’s overcooked, add lemon juice or ghee to moisten it.
Dry or Soggy
The texture is the key to its appeal. Dry Biryani comes from not enough moisture, while soggy Biryani has too much. Use enough ghee or oil to prevent dryness. For soggy Biryani, use less water in the masala base or cook it longer. Dum cooking, or slow cooking, helps balance the moisture.
Balancing Flavors
Getting the flavors right in Biryani is essential. If it’s too bland, add more spices or salt. If it’s too spicy, yogurt or cream can cool it down.
“The secret to great Biryani lies in the harmony of its flavors,”
says a renowned chef. Try different spice levels and ingredients to find the perfect balance for your taste.
Serving and Storing At Home
Now that you’ve learned to make authentic chicken biryani, it’s time to learn how to serve and store it. Serving your biryani is more than just putting it on a plate. It’s about making an experience that brings out its rich flavors and aromas.
Traditional Accompaniments
Traditional accompaniments can make your experience better. Try serving it with a cool raita made from yogurt, cucumber, and mint. A fresh salad or a tangy chutney also pairs well. These add variety and balance the flavors.
Presentation Tips
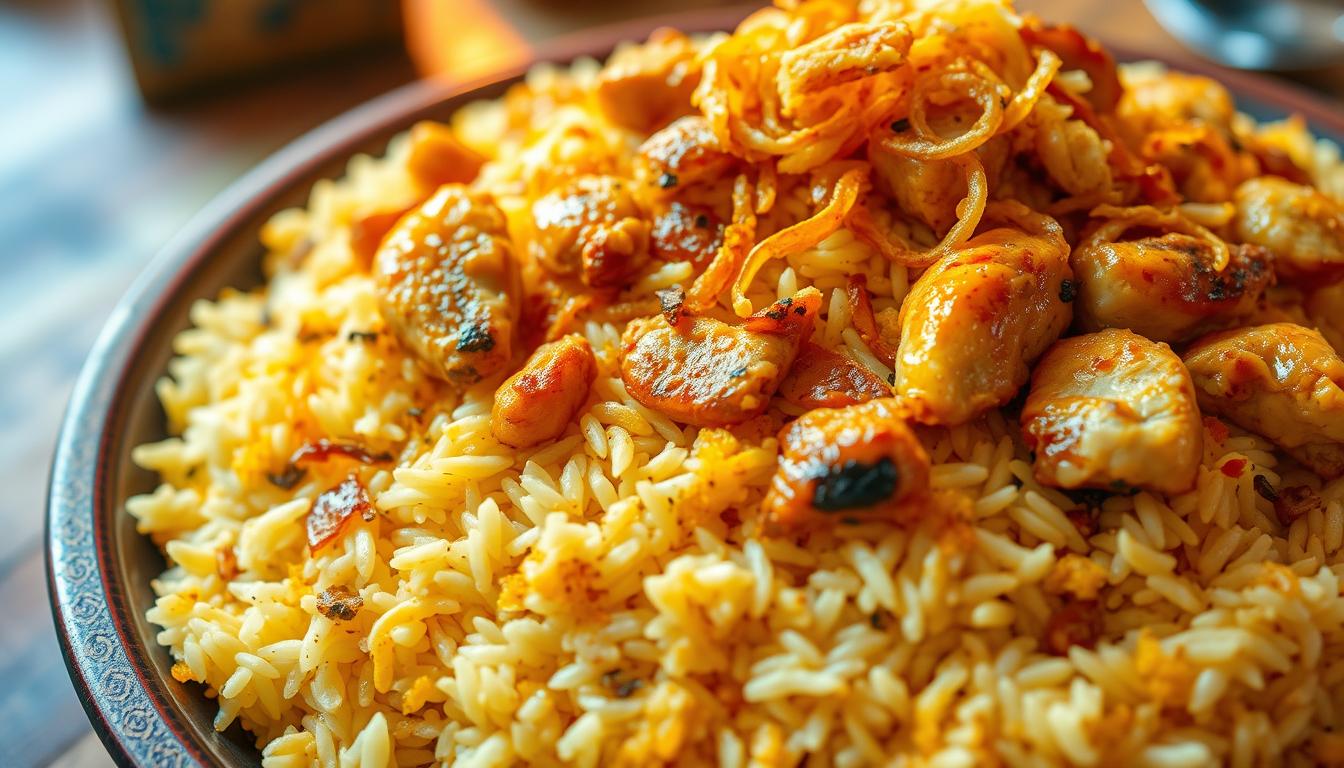
Presentation is key to a great dining experience. Use a large, shallow dish to show off the layers of rice and meat. Add fresh herbs like cilantro or mint. You can also top it with toasted nuts or fried onions for texture and looks.
Storing Leftovers
Proper storage is important for leftover biryani. Cool it down before putting it in an airtight container. It can stay in the fridge for up to 3 days. Press plastic wrap on the surface to keep it moist.
Reheating Without Losing Flavor
Reheating biryani needs care to keep its flavors and texture. Heat it gently over low heat, adding a bit of water or broth. You can also microwave it, but cover it and heat in short bursts, stirring often.
By following these tips, you can enjoy your homemade biryani fully. It’s perfect for special occasions or a cozy meal.
Conclusion
Now you know how to make real chicken biryani. It’s time to try it out. With a bit of patience and practice, you’ll make a biryani that will wow your loved ones in Lithuania.
The secret to a great biryani is the cooking skills you’ve learned. From marinating the chicken to layering and dum cooking, each step is important. They all help make the dish taste and feel just right.
Keep trying new things with your biryani. Add different spices or change the recipe to fit your taste. Over time, you’ll make your own special biryani. Your cooking will get better and better.
FAQ
What type of rice is best for making chicken biryani?
Basmati rice is the top pick for chicken biryani. It has a special flavor and texture.
Can I use other types of meat instead of chicken?
Yes, you can swap chicken for lamb, beef, or veggies. This creates different biryani flavors.
How do I prevent the rice from becoming mushy or undercooked?
For perfect rice, parboil it right. Then, adjust cooking time and heat during dum cooking.
What are some common mistakes to avoid while making?
Avoid overcooking or undercooking rice. Don’t forget to marinate chicken well. Also, seal the pot right during dum cooking.
Can I make biryani in advance and reheat it?
Yes, you can make biryani ahead and reheat it. Just store it right and reheat gently to keep flavors and texture.
What are some traditional accompaniments that go well with biryani?
Raita, salad, or chutney are great with biryani. They enhance the taste and dining experience.
How do I balance the flavors in my biryani?
To balance flavors, adjust spices, salt, and acidity. Taste and adjust as you go.
What is dum cooking, and why is it important?
Dum cooking, or steaming, is key. It infuses flavors and cooks it perfectly, making it delicious and aromatic.
Learn how to make authentic chicken biryani at home.